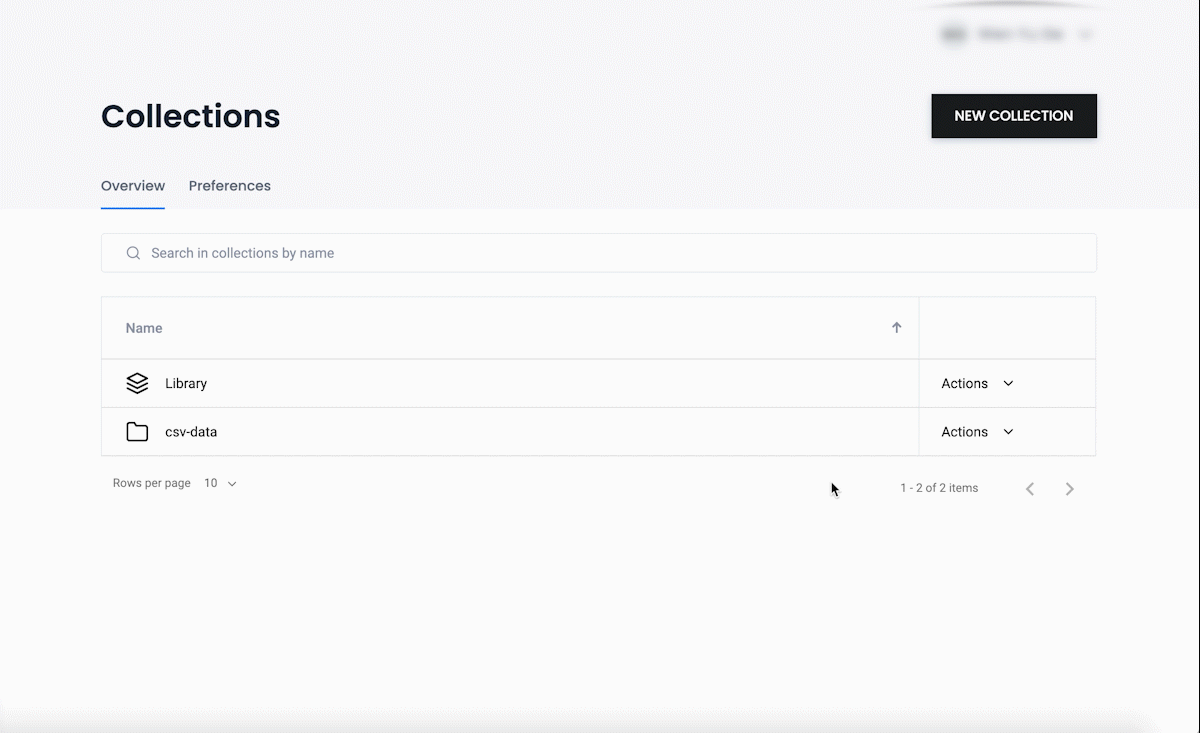
Manage Collections
Renaming Files in a Collection
Users can give preferred names to files in Publisher to make them easier to identify. This can be done without affecting the file name at the Data Source.
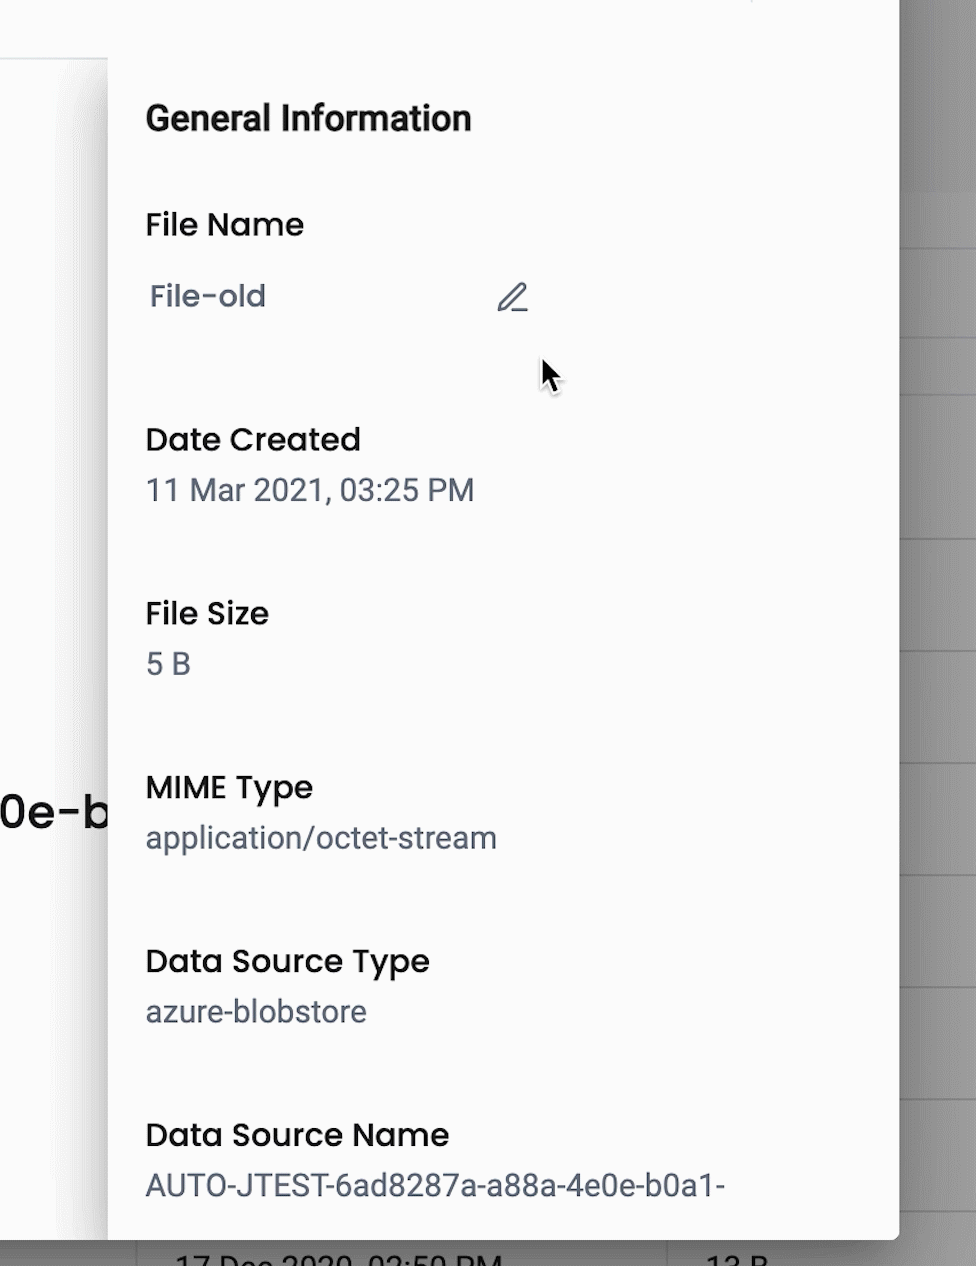
To rename a file in a Collection:
- Click on the
Collectioncontaining the file you wish to rename. - Click on the file in the
Collectionto open the file preview modal. - Click the button on the top-right of the modal window to view a file’s meta data.
- Click the icon to rename the file.
- Click the icon to save your changes.
Sharing a Collection
To share a Collection:
- Find the
Collectionyou wish to share, navigate to theCollection’sActionsmenu >Share Collection. - Modify the
Sharing Preferencesby selecting the appropriateAccess Policyfor eachService Type. - Click
SHARE COLLECTIONto share theCollection. - Share a link to this
CollectionusingActions>Copy Service Registry URL
Deleting a Collection
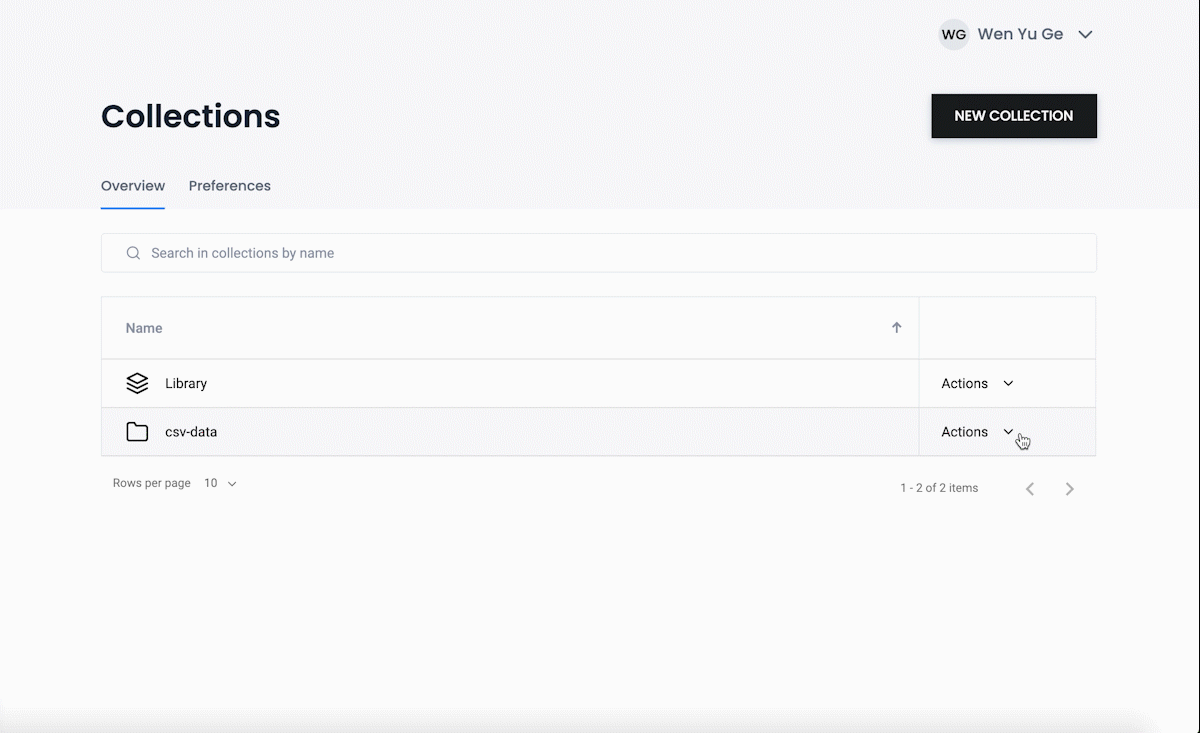
To delete a Collection:
- Find the
Collectionyou wish to delete, navigate to theCollection’sActionsmenu >Delete Collection. - Double check that the correct
Collectionis selected. - Complete the deletion using the
DELETEbutton.
Once a collection has been deleted, it will no longer be accessible from Service Registry, Search, and DRS service endpoints.
Editing a Collection
To edit a Collection:
- Find the
Collectionyou wish to edit, navigate to theCollection’sActionsmenu >Edit Collection. - Modify the content of the
Collectionby updating its filters using the button. ClickNEXTwhen you’ve applied the desired changes. - Click
SAVEto commit the edit.
Viewing Collection Information
The Collection Information screen shows a variety of use information on a particular Collection such as creation date and last modified date.
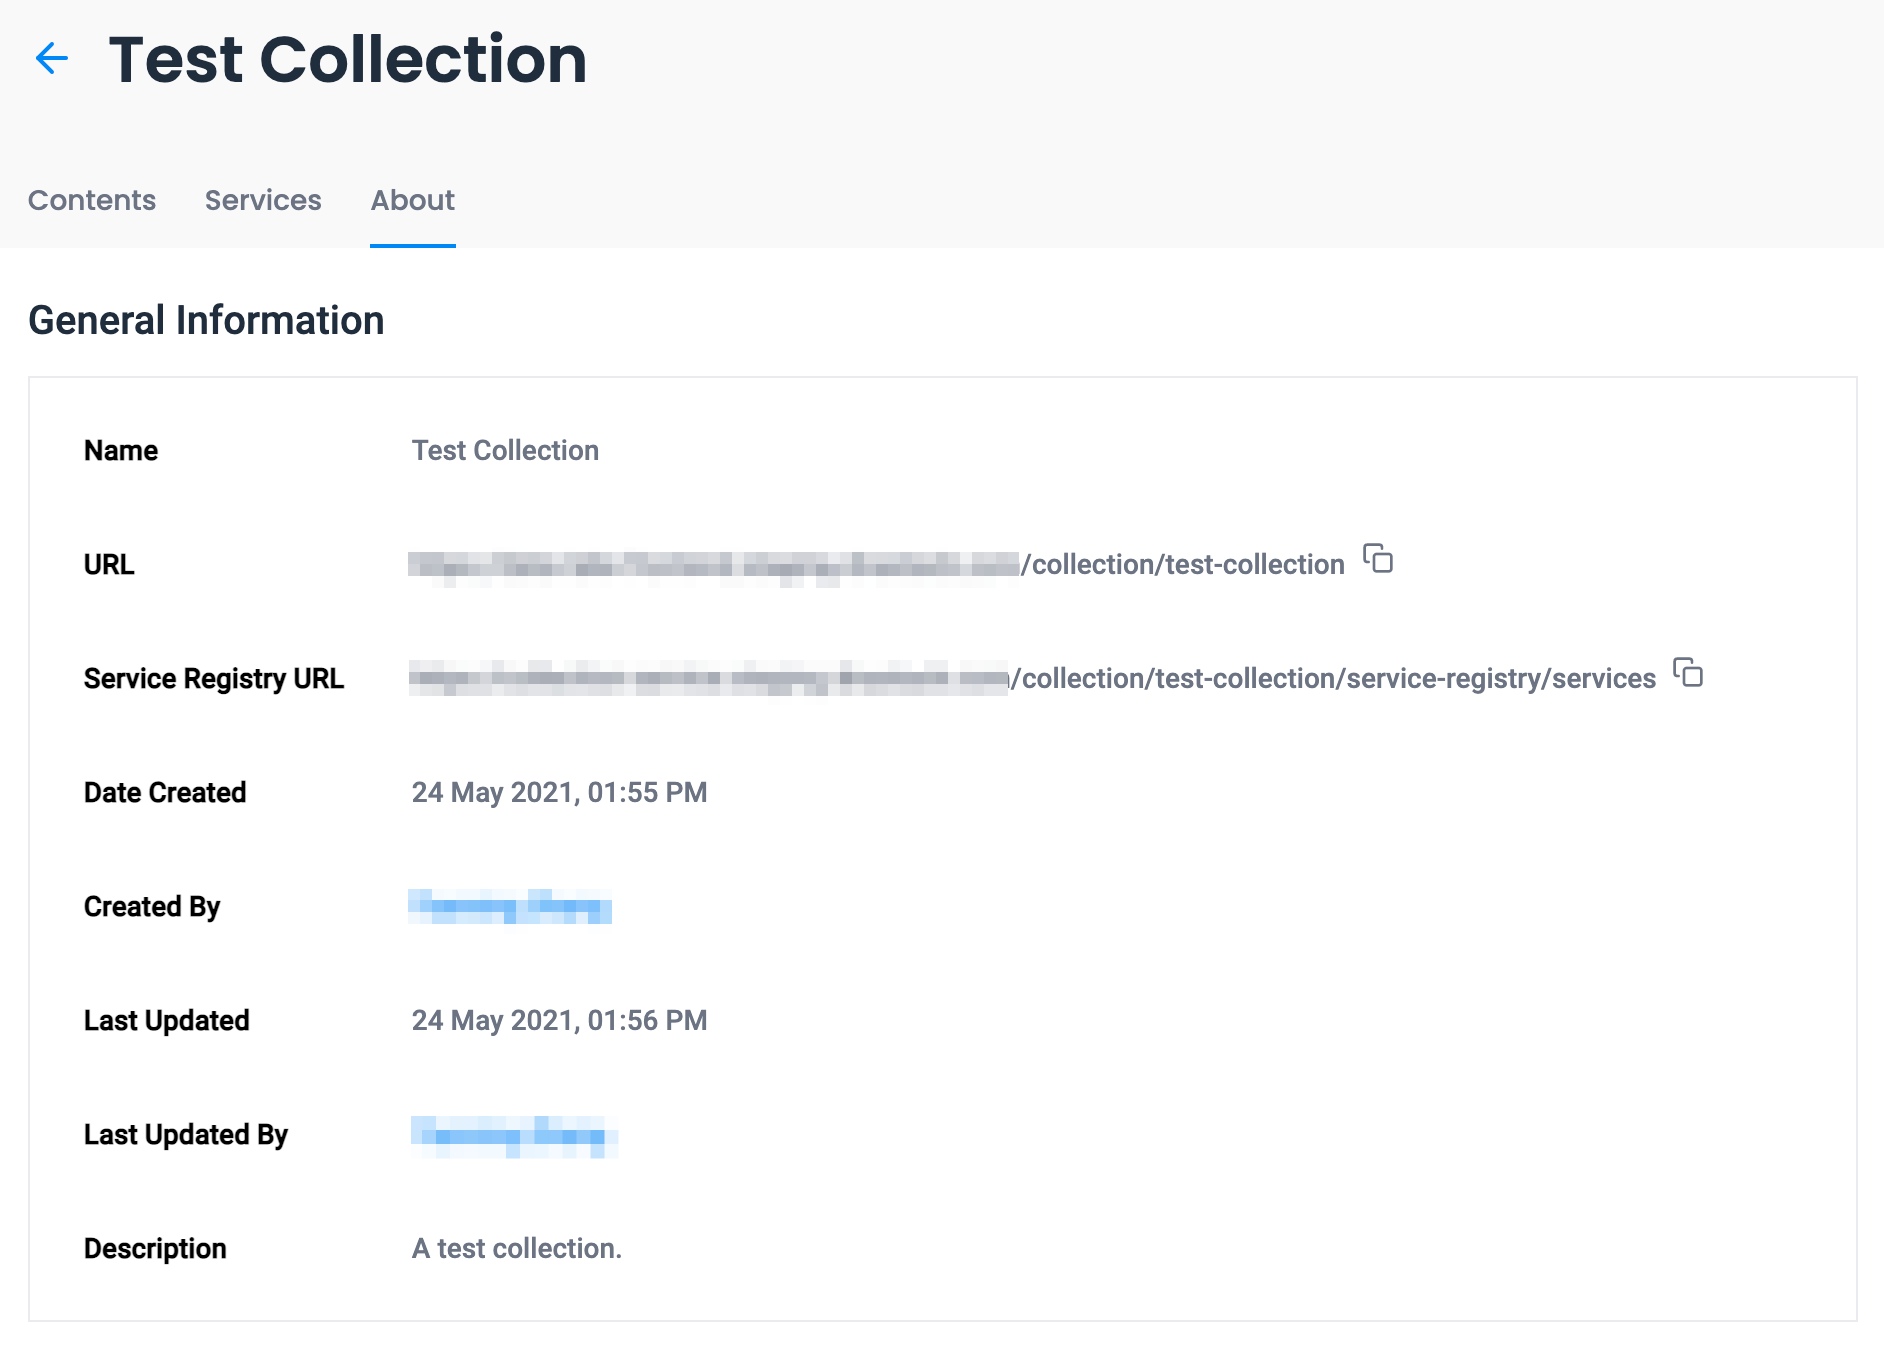
To view the info on a Collection:
- Find the
Collectionyou wish to view. - Click on the
Abouttab on thatCollection.